Thursday, January 29, 2026

Working with perspective

In a recent workshop with Leigh Ellis we reviewed the artist rules of perspective that is used to make objects look three dimensional on a two dimensional piece of paper.  It also conveys scale and realism to a painting. 

This is done using: converging lines, vanishing points, color intensity and shifting, edge definition, shadows and highlights.  

For example, the converging lines in this sketch meet at the vanishing point on the right edge of the paper.  They were used to define the height of three people walking toward the vanishing point.  


The same converging lines and vanishing point were used for the watercolor, below along with the other tools mentioned above.  
  • The light from above is brighter around the closest person, making both the highlights and shadows around them stronger. 
  • The closest red umbrella is brighter, while the others are paler and shift to a red-blue.
  • The edges of the closest person where light and dark meet are distinct, but they are less distinct on the further people.

In some cases additional vanishing points are needed to define your view.  For instance a house on a corner would need two vanishing points.  Shadows from the sun or clouds overhead would need additional vanishing points.   


Wednesday, December 3, 2025

Additional 2025 watercolors from workshops

Here are a few other watercolors from workshops with Leigh Ellis.  In each workshop we worked from photos.  I did not take the photos, and the paintings are not replicas of the reference photos.  

Snow!
We worked on a winter scene of a forest with a stream in the snow.
  • First a light sketch of the stream and surrounding trees.
  • Then a splattering of masking for snow
  • Add light wash for the sky and background trees
  • Paint the dark foreground trees and their shadows on the snow banks
  • Darkening the background trees and add shadows to the snow banks
  • Painting the reflecting light on the stream and the shadows of the banks
  • Darkening edges of the banks, rocks and trees         
  • Create additional depth with shadows and highlights
  • After the painting is completely dry, remove the masking 


Birds in winter and summer
Because we are so familiar with birds, getting many details correct is important:
  • Size and shape of the head, body, tail and wings.
  • Color of key characteristics that identify the species.
  • Realistic body positioning when perching or flying.
  • Correct habitat can also be important.
Birds are very round, and the illusion of roundness on a flat piece of paper is created by creating shadows and highlights.

The colors in the shadows can be cool or warm
  • Cool colored shadows (bue-purple) indicate a winter day
  • Warm colored shadows (brown-purle) indicate a warm summer day

Monday, December 1, 2025

GWS workshop with Iian Stewart

On Aug 16-18 2023,  I attended a three day watercolor workshop, hosted by the Georgia Watercolor Society at the Thomasville Center for the Arts.   The workshop “Painting Land, Sea and Sky” was lead by Iain Stewart, a sought after watercolor instructor.  

Iian is an avid sketcher, and he asked us to bring a sketch book to the workshop.  We used the sketch to make pencil sketches, take notes on design ideas, and paint studies and vignettes.  This is how every painting we did started.


A list of the watercolors Iian uses was suggested for the workshop.  I normally use just 10 colors, and mix what I need from these.  But I was interested in seeing how Iian would use these other colors, and this was my opportunity to try them: Cadmium Scarlet, Naples yellow, Undersea green, Cobalt turquoise, Phthalo blue turquoise, Verditer blue, and Lavender.  


Iian helped us improve our sketching and painting ability. I learned new techniques and was reminded of techniques I learned long ago but forget to use.  


Tomasville is a lovely historic Georgia city.  The downtown has several nice local shops, restaurants and drinking establishments.  While walking around we looked for the lost quail and one of the oldest live oak trees.  We enjoyed tasting some unique drinks at 1861distillery , had a wonderful meal at Chop House on the Bricks and took home some amazing chocolates from sweet cacao chocolates.  


Thursday, October 23, 2025

My Introduction to marbling paper and cloth

I often use marbled paper in my home made books, however I had never made my own marbled paper.  Marbling paper is one of the classes the John C Campbell Folk School often has, but so far I had not been able to attend any of their classes at the school.  By chance I learned they were still conducting a few online classess, and marbling was one of them.  So I quickly signed up!

As part of the online class I received a kit that included a 11” x 14” marbling tray, paints, a surfactant to thicken the water, a mordant for the paper and cloth, and some  paper and cloth.

There were six people in the class which allowed the instructor time to work with each of us.  We had a short first meeting to review what the class would cover and to do all the prep work:  

  • making up the carrageenan for the tray, fill the tray and cover it overnight
  • making up the alum, the mordant for the paper and cloth.  Spray one side of the papers then hang to dry.  
  • make 1” and 2” rakes; ½” comb for marbling
  • prepare three colors of paint (yellow, red, blue) with distilled water
The next day the instructor walked us through testing the paints, and adusting their consistency so they would spread out on top of the carrageenan enriched water.  

Marbling patterns are created by dropping paint in specific patterns on the surface of the carrageenan, then using the rakes or combs to pull the paint out into various patterns.  

The instructor walked us through creating several classic marbling patterns, moving from simple to complex.  Once we had a pattern we were happy with, paper wa carefully layed down on the paint and then just as carefully lifted off.  Any extra carrageenan was gently rinsed off the paper and it was set aside to dry.  

  • Stones (large drops with smaller drops inside) and Bulls eye (drops within drops)

  • Get-gal (Using rake to cross both horizontally and vertically and Double Git-gal (using comb to cross twice horizontally and vertically)
  
  • Ribbon (Git-gal one direction) and Spanish wave (wiggle paper lifting)

  • Over marble (second printing with pattern at 90 degrees


Saturday, January 25, 2025

2025 watercolor workshops with Leigh Ellis

I have taken several watercolor workshops with Leigh Ellis through the years.  I love her paintings.  They glow with light and energy.  So when I heard she had weekly small group workshops I quickly signed up.

The first workshop we worked on painting light.  We did two still paintings one of white flowers and the other of a hay field in the sun.    


The flowers were white on a dark background.  To retain the white of the flowers we masked them, then painted the background.


Once the background was dry, the masking was removed and we painted the branches as flower shadows.


The Hay field was painted in several steps.  First the barn and highlights of sun were masked.  Then a double wash of blue sky and yellow field were layed down on the paper.  Then the tree line at the fare end of the field and the grasses along the front are painted in.  


Below, you can see the painting with masking (pale blue on the barn and hay bales), the washes of blue sky and yellow field, pale green trees in the background and grasses in the foreground.


I did some color testing to determine how I would handle the barn and trees.  


I used quinacridone gold orange and rose; along with mixed greens from cobalt and phalo blue.  


I find testing the color combinations and mixes before adding them to the painting is an important step.  


                                    Below is the finished painting


Friday, June 28, 2024

Travel paintings of Scotland 2024

 We had a great wildlife tour with St. Hilda Sea Adventures.  We spent 10 days on the Speideren, a 75 ft Norwegian Rescue boat in the Outer Hebrides.  We stopped at 12 different Islands during the trip seeing beautiful scenery and wildlife. 

We boarded the ship in Oban, then traveled through Loch Melfort to our first stop Rum to walk at the Nature Reserve, then on to Canna where we anchored off shore.  Next stop was the Outer Hebrides.  We hiked to a remote beaches of Vatersay, stopped at the harbor of Castlebay on the Isle of Barra, then Lochboisdale on South Uist and Lochmaddy on North Uist where we hiked out to Loch nam Maddaah to see a Camara Obscura and had a day tour out to the small Island of Berneray.  Next we sailed to the Shiant Isles, three rocky  islands in the Northern Minch, that are nesting grounds for thousands marine birds (puffins, guillemots, razorbills, shags and great skuas).  Then we were off to East Tarbert on Isle of Harris and a stop at the local distillery.  On our way back we stopped at the Isle of Sky to hike up to Loch Coruisk, and Isle Eigg for a walk, and Lochdon on the Isle of Mull to tour Duart Castle.

We stayed a few extra days to tour the Isles of Mull and Iona.

We were very busy so I only had time to make quick sketches and take reference photos.  I finished the watercolors after we returned home. 


Oban harbor at night


Kinloch Castle on Rum in process


Vatersay bay, Outer Hebrides in process


Saturday, December 9, 2023

Books with cross stitch covers

I have several small counted cross stitches my Mother started but didn't finish.  I decided to finish them but wasn't sure how to use the.  Then I saw a facebook post by Bep van Gasteren who uses counted cross stitch on the covers of her books.  

I followed her post to make a small book with a counted cross stitch butterfly on the cover.  Below are all the pieces for the book:


I prepared the book cover:  Cutting a hole in the center of the front cover.  Attaching the reinforced counted cross stitch.  Punching the spine.   


I prepared the book pages:  Cutting the paper.  Folding the signatures.  Cutting front and back signature covers.  Punching the six Signatures using 2 guides.


I assembled the book using Keith Smith "arrow" binding for 3 signatures.


I am happy with how this first little book turned out.  


Sunday, September 24, 2023

Making large photo albums

A friend asked me to make a photo album for a gift.  I have made small photo albums before and so I was happy to make a larger one for him.  Once we started talking about what was going in the album (30 stories written on 8.5" x 11" paper) I realized it would need to be a very large photo album.

I started by determining the album pages would need to be 12" x 12".  This would allow a margin around the papers that would be attached to the pages.  It is also a  standard size so I was able to purchase the pages.  I then needed to determine the size of the book cloth and decorative paper needed to cover the book board.  Once I had the dimensions I was able to order the materials I needed.  

Cutting the materials:

  • 4 book board pieces (2 for the back and 2 for the front). 
  • 4 book cloth pieces 2 for the back and 2 for the front). 
  • 4 decorative exterior paper pieces (2 for the back and 2 for the front)  
  • 2 decorative interior paper pieces (1 for the back and 1 for the front). 

NOTE: It is important to mark front vs back and top vs bottom so you can punch and assemble the pieces without any misalignments.

I made a 3 hole template for punching the book board spine pieces, and punched them.  

Before gluing the paper and cloth to the book boards, I checked to be sure they were the correct sizes so everything would fit together correctly.

I began by gluing the book cloth onto the outside of the back and front book board pieces.  The corners were cut and the book cloth edges wrapped around and glued to the interior of the book boards.  The 2 smaller pieces of book cloth were glued over the spine on the inside, covering some of the exterior book cloth edges.  The 3 holes now covered by the book cloth were carefully re-punched. 

Next the decorative paper was glued to the outside of the front and back book board.  The corners were cut and the paper edges wrapped around and glued to the interior of the book boards.  

Finally the 2 large decorative interior pieces of paper were glued in place, covering the remaining edges of book cloth and exterior decorative paper.

I made a second 3 hole punch template with a narrower margin along one edge to use with the 30 book pages and 31 spacers.  This moves the edge of the pages away from the spine edge of the book.  After punching the 61 pieces I assembled the book.  

I actually made two books, so my friend would have a choice of colors.


Friday, April 14, 2023

Abstraction through Design workshop

I participated in a three day abstract watercolor workshop lead by John Salminen

I am not an abstract painter, but over the course of the workshop I discovered that thinking about what makes an abstract painting is interesting can help make more interesting paintings.  Without a defined subject it is the elements of the painting that make it interesting.  The play of colors, dark against light, warm against cold, lines against shapes.
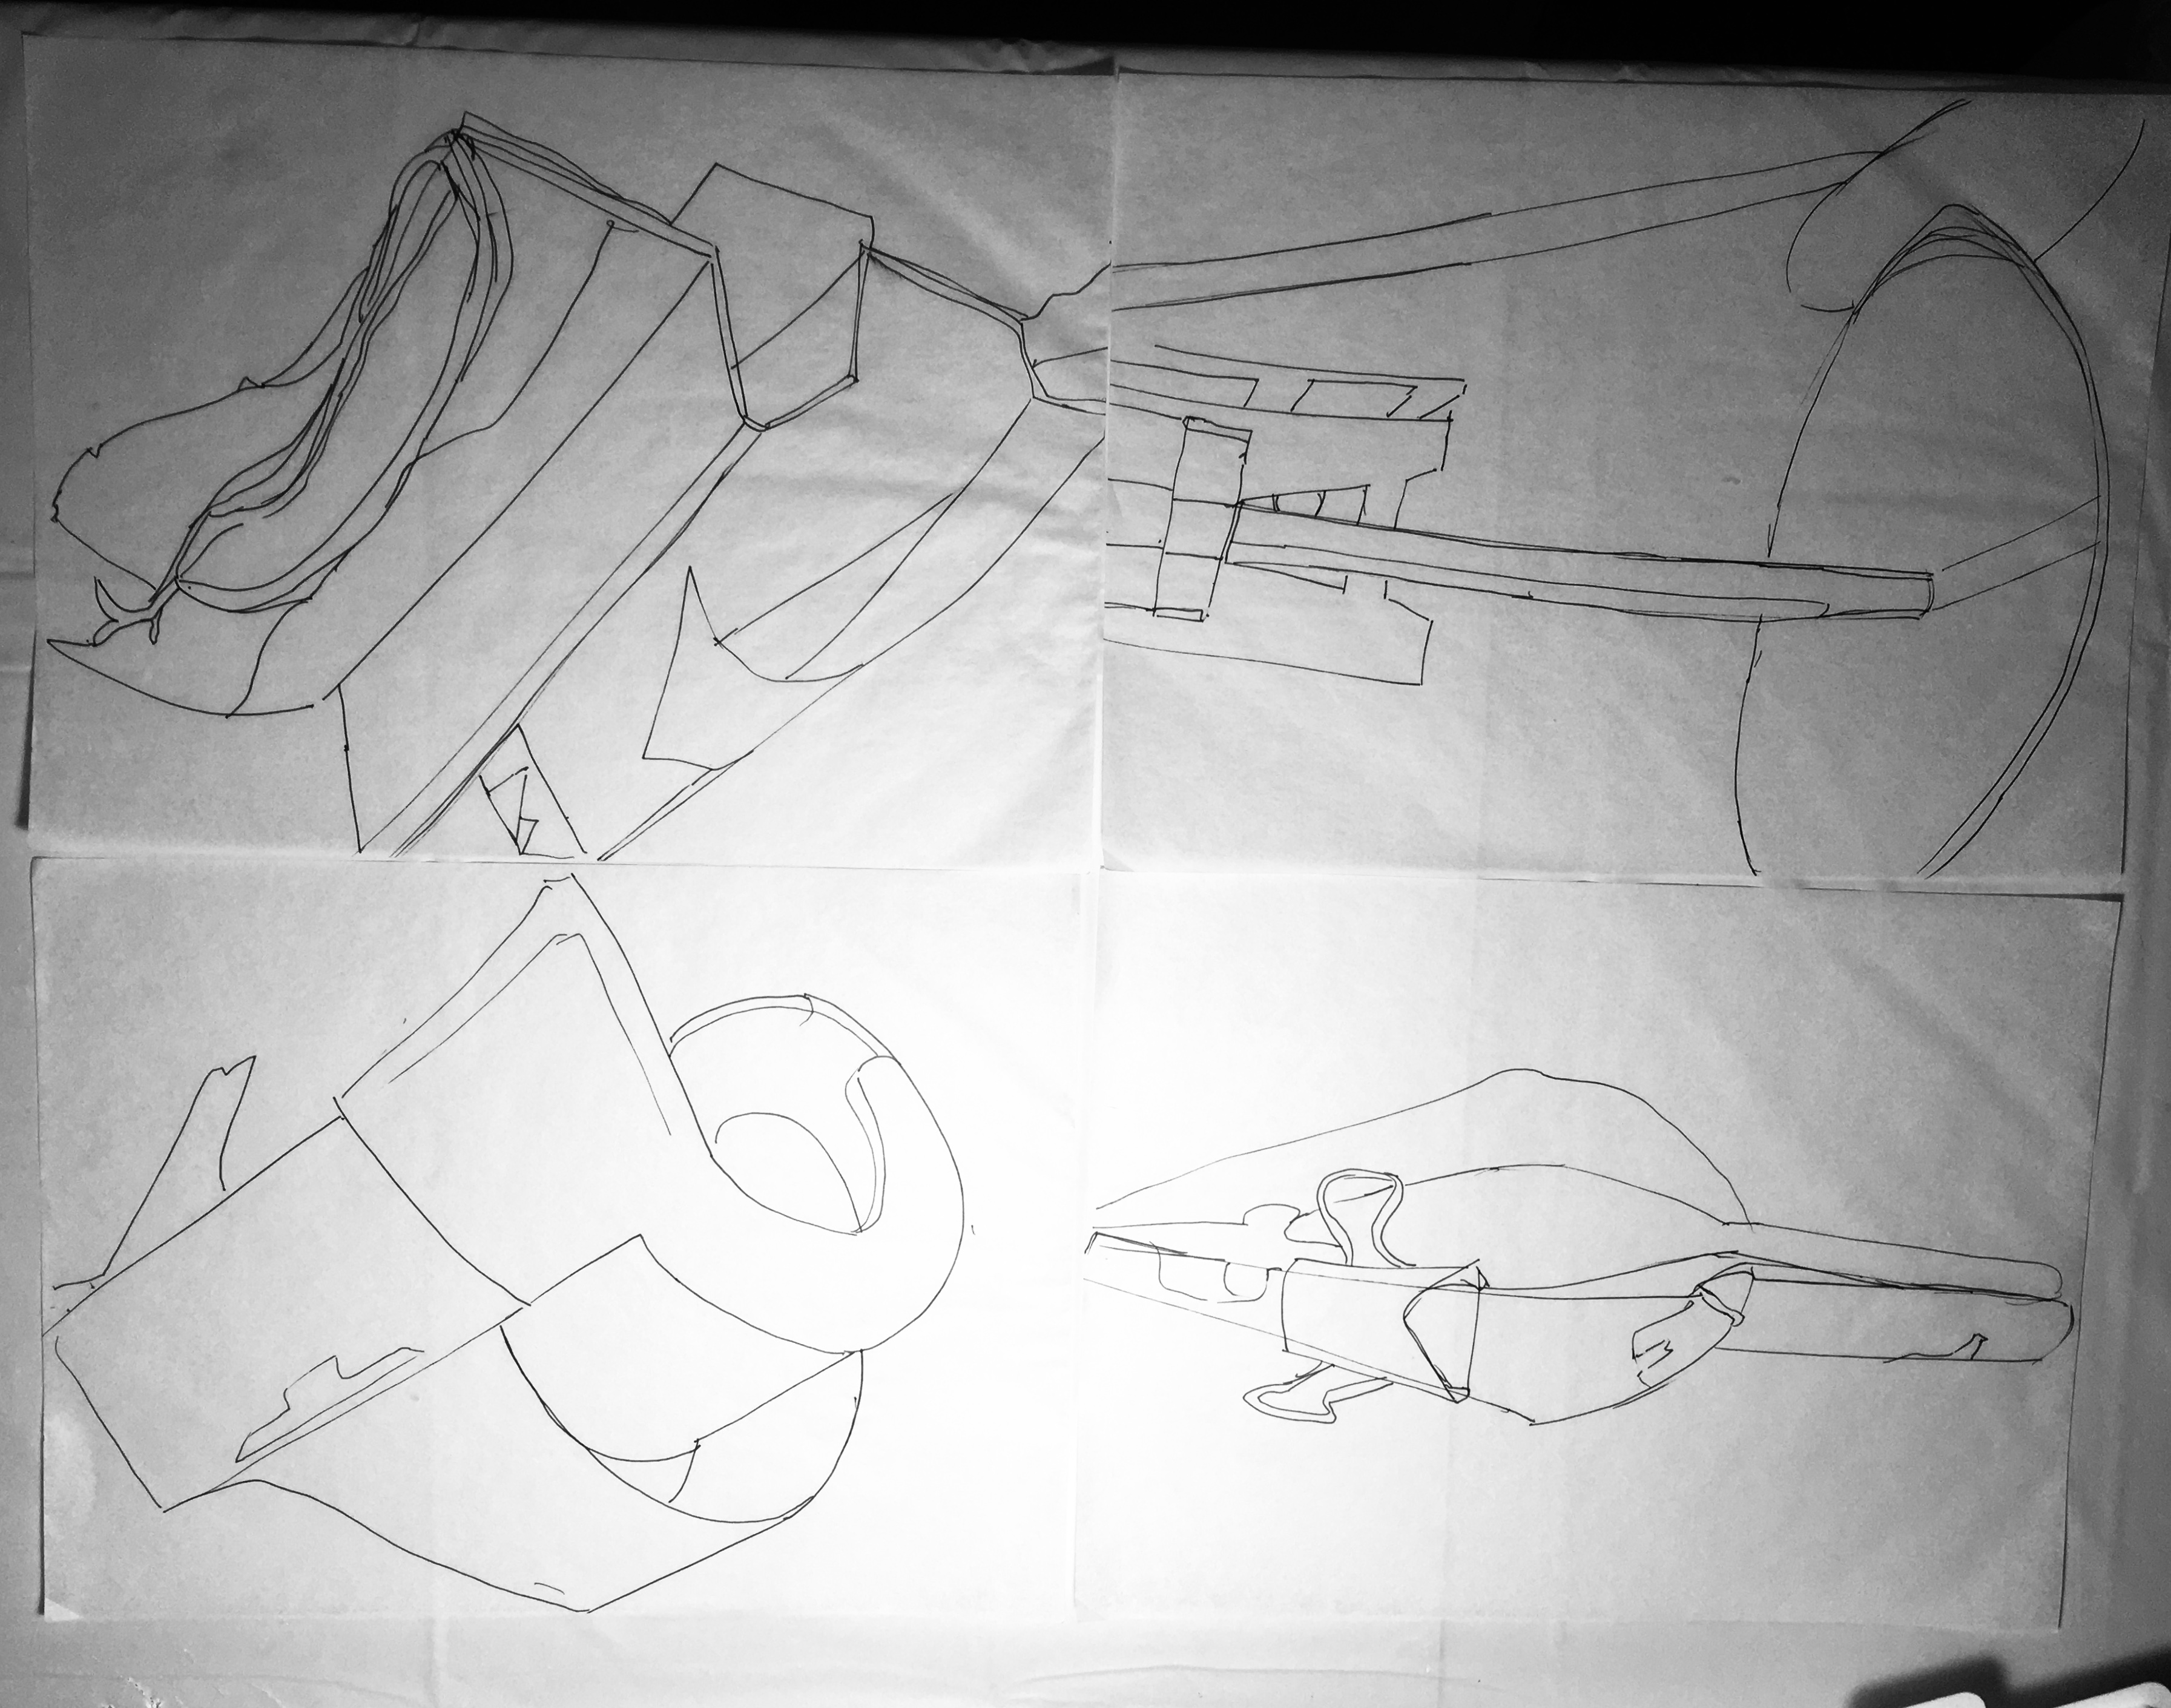
We went through a process of creating a very busy line drawing of random shapes. 

Then we used the lines to help us create a painting with a three armed white object, more or less in the center of the paper, bounded by color.  

The next step was to add some black shapes to define some contracting edges.  Then additional warm and cold colors were added to create interest and movement.  Once I started painting it became easier to add more colors to the painting.

The final shapes we added were cut from magazines and applied to the painting using matte media.  The resulting paintings were very interesting.  This was the hardest part for me.  It took a long time to find items to use and to decide where to add them.  I'm still not sure it is done.

Tuesday, March 14, 2023

Little bound story book

I purchased a stuffed Ossabaw Sicilian donkey for my nephew.  He is quite a Winnie the Pooh fan, so I decided to also get him a stuffed Eeyore, and to make a little book about the two of them meeting.  

After roughing out a story,  I had an idea of how many illustrations were needed.  I started working on sketches,   Over time, a rough story and illustrations slowly converged into what could be a little story book.  

It would have 8 pages.  I would need 10 illustrations: front cover, front page, 6 for the story, back page and back cover; and the text needed to fit in the available space of the 6 story pages.

I used watercolor paper for the 4 signatures (8 pages) of the book.  The illustrations were inked and painted.  Then text was added to the pages.  Finally I sealed the pages with a non-toxic watercolor sealant.  Finally I was ready to put together the little story book.  

 Punching the covers
Last page and inside of back cover
Bound book


Tuesday, February 14, 2023

Victorian Folded Valentines

There was a time when people gave folded valentines, with hidden messages inside.

I recently made some of my own to give as gifts to friends.  The folding is like similar to Origami, but with a twist.  Because I was including drawings and text, I needed to figure out where to put them on the paper before it is folded.  I started by learning the steps of folding.  Once I could fold it successfully, I determined what parts of the paper would be visible at each stage of the unfolding.  Then with the paper totally unfolded I worked out the drawings and text for each side.  After a few false starts I had a mockup to use to make the final valentines.  

Folded valentine           
Opening first fold          
Opening second fold.   
Opening third fold          
Opening fourth fold        
Untwisting the corners    
Inside of unfolded paper  
Outside of unfolded paper
I put them in little envelopes