The 6" by 9" tall book would have seven signatures of eight folios each. That meant it was time to measure and tear more paper, and fold more signatures. Because the spine's of the signatures would be visible when the book was complete, decorative paper covers were cut for each signature. The covers were folded and glued to the spine of each signature. The finished signatures, at right, were placed under a weighted board to flatten.
Book board was measured and cut for the front and back covers. Decorative paper was glued to the outside of the book boards and wrapped around the edges of the board to the inside. Smaller pieces of a complementary decorative paper were glued to the inside of the book boards, covering the edges of the paper wrapped from the outside (similar to how the accordion book covers were made). The finished covers were placed under a weighted board to flatten while drying. The same jig was used to determine the correct spacing of the holes on the covers, which were then punched with the needle awl (finished covers at left sitting on the foam board used for punching holes).
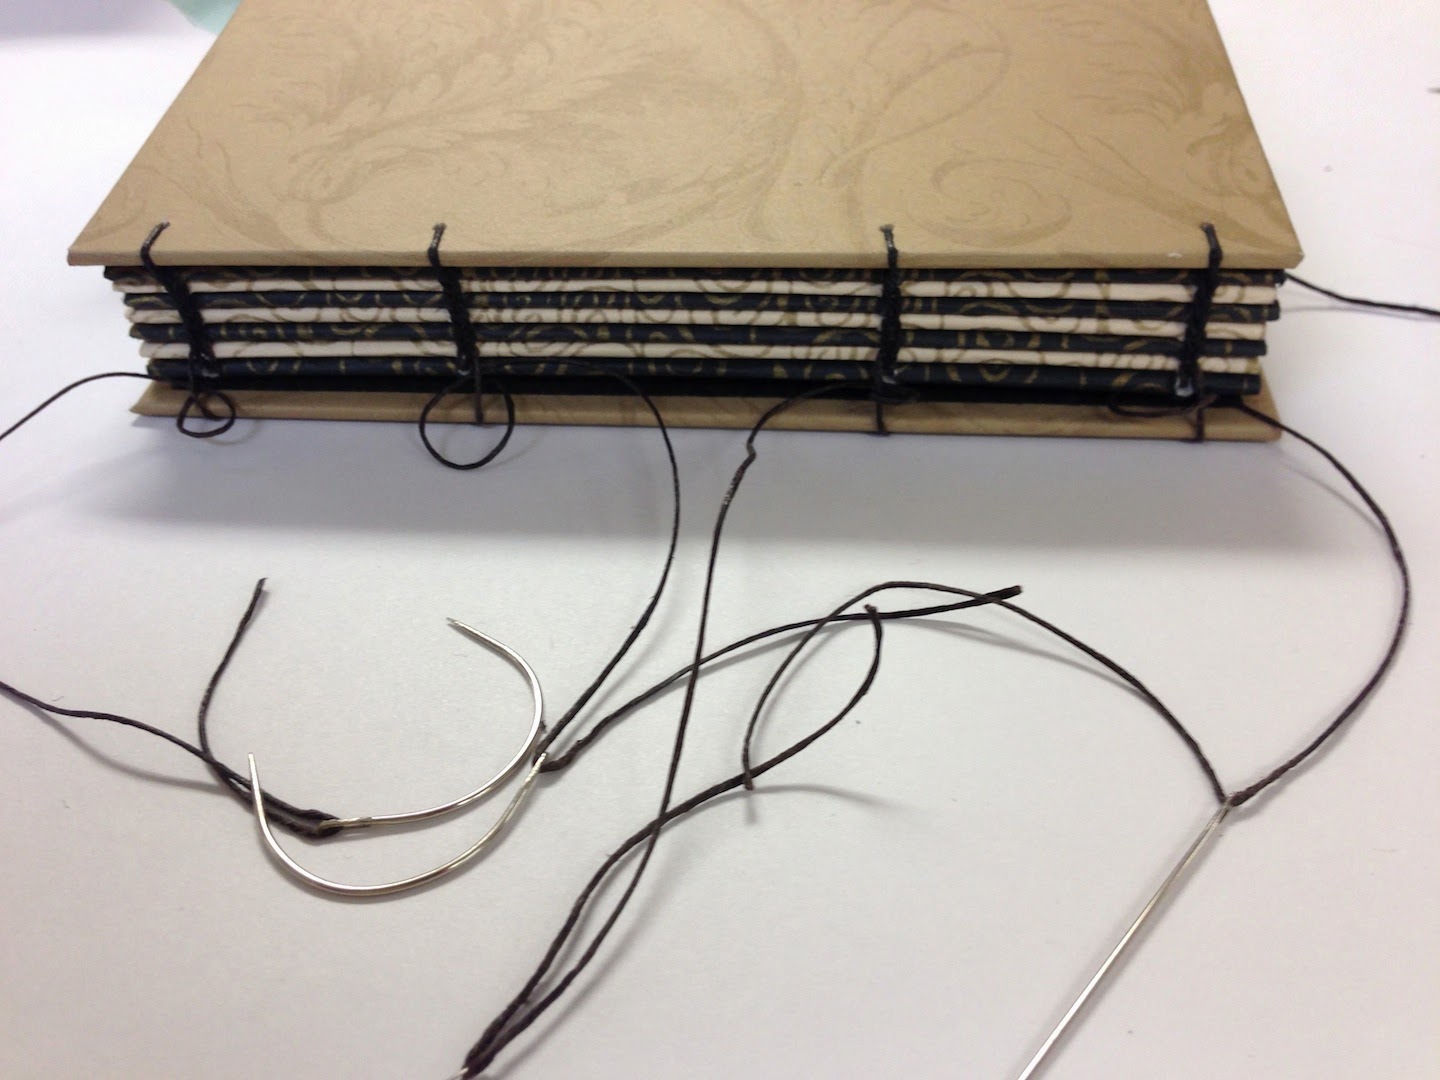
The covers and signatures were stacked in order for sewing. Two lengths of 4 cord waxed thread long enough to complete a pair of bindings were cut. If the thread is too short additional lengths of thread can be attached using weavers knots (A lesson I learned). So we could try using both curved and straight needles; one length of thread was attached to two blunt straight needles, and the other thread was attached to two blind curved needles (as seen at right).
We started by attaching the first signature to the front cover. The thread was adjusted so it was equal for each pair of needles and locked in place using a locking stitch. I continued adding each additional signature, snugging and locking the stitches in place. The back cover was attached to the last signature, snugged and locked in place. The final knots were tied and threads trim off.


No comments:
Post a Comment